

Choosing and registering your domain name is one of the most important first steps when creating your escort website. Your domain name isn’t just a web address — it’s your brand, your online identity, and the foundation for how clients find you.
If you’re not tech-savvy, don’t worry — this guide walks you through everything you need to know, from choosing the right name to registering it properly.
Step 1: Choosing Your Working Name Carefully
Before you register your domain, you need to decide on your working name. One of the most important things to consider when choosing your work name is that it’s unique!
Here’s why that matters:
If your name is common or similar to a famous person, Google will prioritize non-adult or mainstream results instead of yours. For example, if your working name is “Jenn Lopiz,” Google might assume users are searching for the actress Jennifer Lopez instead and show those results first.

This is Google trying to redirect users toward what it believes is a “safer” topic. Because adult content is filtered or de-prioritized by default, Google won’t show your website unless a client specifically asks for it.
This is especially true if the user hasn’t turn off SafeSearch. If the user has SafeSearch turned on, it’s even less likely that Google will show your website in search results, unless your website is the only thing it can show.

IMPORTANT TIP: Choose a name that doesn’t exist anywhere online. If your name is original and has no other content associated with it, Google has no choice but to show your website in the search results.
Once you’ve chosen your working name, the next step is to check if that domain is available.
Step 2: Check Domain Availability
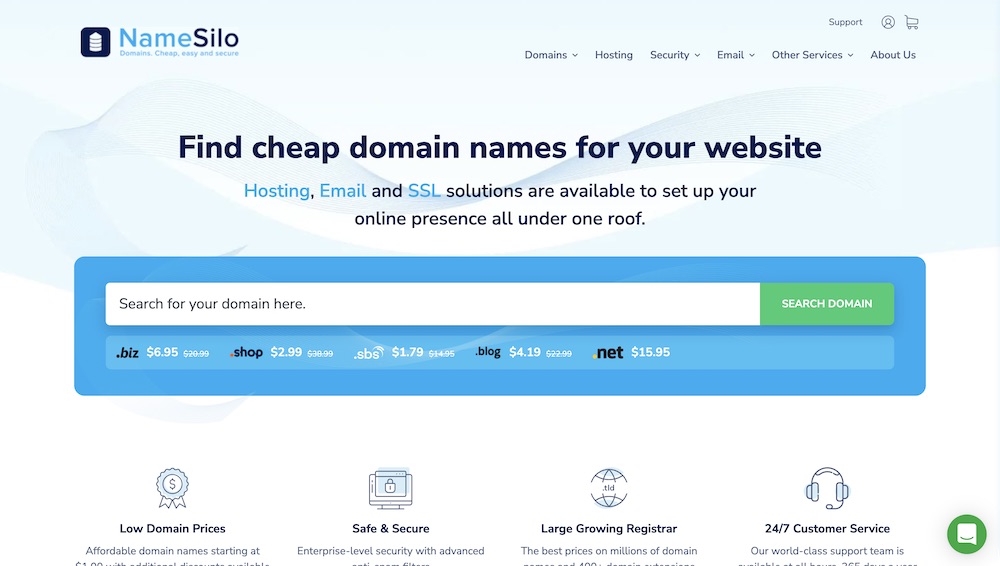
The next step is to visit a domain registrar to search to see if your name is available. The domain registrars that I recommend are:
In the search bar, type in your desired domain name (for example: yourname.com).
If it’s available, you’ll see the option to register it. If it’s taken, the registrar will suggest alternatives such as .net, .co, or .me — but ideally, try to get the .com version of your name.
If the .com version of your name is not available you can try alternatives such as dateyourname.com or meetyourname.com but always include your name in the domain you register.
Step 3: Register Your Domain
After confirming availability, go ahead and register your domain. The process is simple:
- Add the domain to your cart.
- Create an account with the registrar.
- Pay for the domain (usually around $10–20 USD per year).
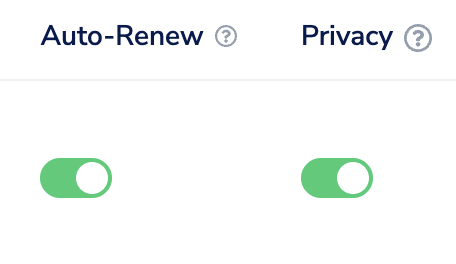
When registering, make sure to use your professional email address (not your personal one) and enable privacy protection, this is offered for free from most domain registrars. The privacy option keeps your name and contact details hidden from public records.
IMPORTANT TIP: It’s very important that YOU register your domain name. If you let someone else do it for you, then they will have control over your domain. Your domain is your main address on the internet so it’s very important that you retain full control over it.
Step 4: Understand Renewals
Your domain registration must be renewed every year. If you forget to renew it, there’s a chance that someone else can register it and then they will have control over your domain. Most registrars have an automatic renewal option as long as you have a credit card on file.
Domain renewal is separate from your website hosting renewal. Both of which will usually have an annual renewal schedule.
- Domain renewal: Keeps ownership of your web address (e.g., yourname.com).
- Hosting renewal: Keeps your actual website online.
You can lose your domain if you forget to renew it — and once that happens, anyone can buy it. So always keep your billing information up to date and turn on auto-renew if your registrar allows it.
Step 5: Link Your Domain to Your Website
Once you’ve registered your domain, you’ll need to connect it to website hosting. This is done by updating something called the Nameservers — which tell the internet where your website is hosted.
Here’s how to do it:
- Log in to the account where you registered your domain (for example, NameSilo or Namecheap).
- Look for a section called “DNS Settings” or “Nameservers.”
- Your web hosting company will give you two or more Nameserver addresses — they’ll look something like this:
- ns1.hostingcompany.com
- ns2.hostingcompany.com
- Delete the existing Nameservers and replace them with the ones provided by your hosting company.
- Save your changes.
It can take a few hours (sometimes up to 24) for your domain to fully connect to your website.
IMPORTANT TIP: Never share your registrar login information with anyone, including your web designer or hosting provider. If they log into your account they will be able to see your real name and details in the billing section.
Updating the Nameservers is all that you need to do to link your domain to your website.
Final Thoughts
Your domain name is the foundation of your online brand. Choose a name that’s unique, easy to remember, and Google-friendly. By taking the time to register it properly and keep it renewed each year, you ensure that clients can always find you.
If you’re unsure about the technical steps, feel free to contact me and I can walk you through the process.

Elevate your business with bespoke websites, strategic branding, and online marketing designed to attract your ideal clientele.


